
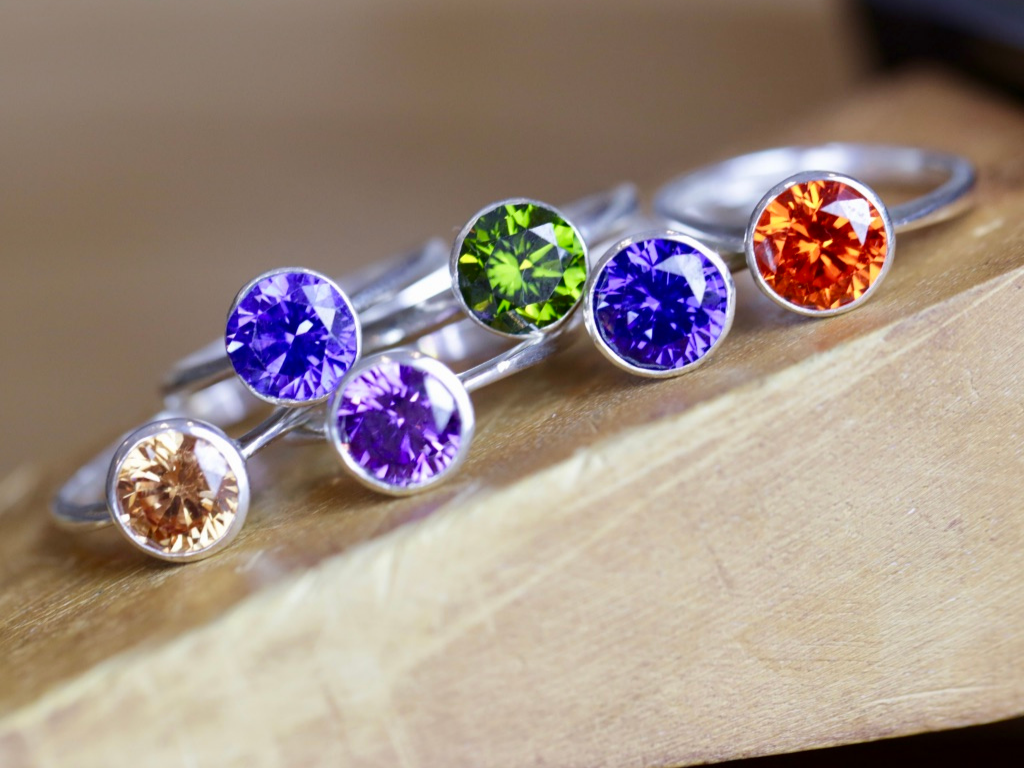
Saw, file, solder -tips from expert jeweller Stelios Karantonas
Blog
Saw, file, solder - these three techniques are the basis of all successful silver and gold jewellery making. Expert jeweller and mentor on our Diploma programmes, Stelios Karantonas joined Jessica Rose for a live Q&A to give tips about these techniques and to answer your questions. You can watch the replay and read some of his tips here

watch the replay
Here is the link to watch the Saw, File, Solder live Q&A replay >
Below is a summary of some of the advice he shared in the session.
The techniques of sawing, filing and soldering are interlinked. If you do well with your sawing you will have less filing to do! If you have less filing to do then your solder join will be good.
The key to developing your skill is patience, curiosity and practice!
Metals are consistent in the way they respond so practice helps you start to understand the way that metal reacts to help you become a better jeweller.
saw
Saw frame - Stelios was asked in the Q&A about whether he recommends a Green Lion or Knew concept saw. Stelios showed that he still uses a basic saw frame as he likes the way they adjust
To lubricate your sawblade, do one stroke of beeswax top to bottom
Choosing which saw blade to use. If the metal is thick then you will choose a saw blade with more teeth. If it’s a fine piece you will choose a finer saw blade. Stelios tends to start with size 3/0 and see how that works and then adapts from there
To saw a sharp corner - keep the saw blade upright and saw on the spot while turning the blade before starting to saw your next side
File
Technical exercise to practice - saw and file a perfect copper square of 2cm x 2cm
Stelios likes to use the vellorbe glardon files and very fine needle files
Solder
Solder will not fill a gap so it is important that the two pieces of metal fit together to make a solid solder join
Stelios prefers liquid flux for working with both silver and gold. However, he says that it depends on which flux you learn with. If you have learnt with borax you may prefer to continue using borax. Flux is flux - it is just about the brand and the method of distribution - liquid or the borax cone
It is best practice to use hard solder for your joins
It is hard to tell which solder you have if you drop it! Or if you have a little piece of silver instead of solder. One tip is to colour your solder with a sharpie e.g. green for easy solder, red for hard solder etc. The colour will not affect the solder and will burn away but will help you with identifying the solder on your bench
It is a good technical exercise to put a pallion of easy, medium and hard solder onto a piece of metal e.g. copper and heat the piece to see how long it takes for each to melt. This helps you develop your awareness of how the solders work
Solder paste is good for soldering wire e.g. earring posts, filigree. It’s best to use solder pallions for larger soldering areas
Tips for pieces with multiple soldering joins -
Plan your soldering beforehand
Always start with hard solder as it melts at a higher temperature so is more likely to stay in place while you’re soldering other joins
You can use a solder blocker e.g. technoflux on a soldered piece. This stops the heat from getting to that join while you are heating the rest of the piece
You can also use tippex on an area that you don’t want the heat to get to (be careful of fumes from this. We recommend wearing a mask and good ventilation)
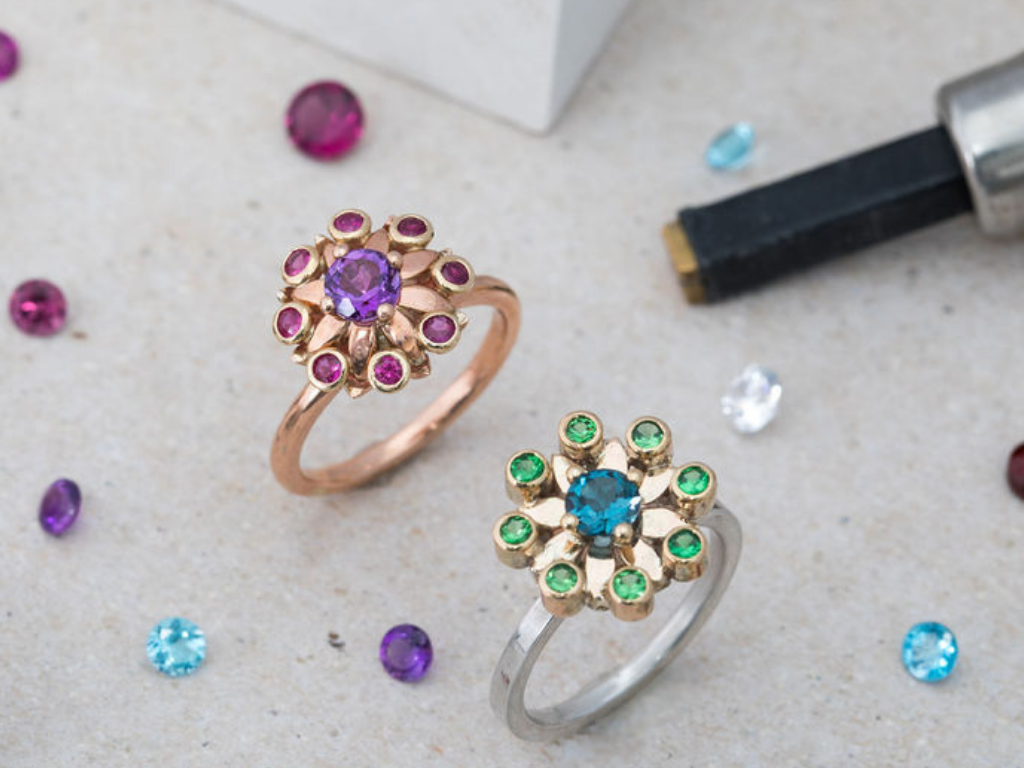
If you would love to develop your jewellery making skills then do take a look at our Diploma programmes.
diploma in silver jewellery
1 Year Part-Time Online - For Beginner to Intermediate Jewellers
diploma in fine jewellery
1 Year Part-Time Online - For Intermediate to Advanced Jewellers