
Rings, Pendants & Charms in Wax: The Build-Up Technique

LEARN HOW TO work with wax to create beautiful jewellery
Hello lovely
Do you have jewellery designs in your head that you’re not sure how to make? Are you inspired by organic designs? With stone settings?
Then wax carving is for you.
I work with a lot of jewellers running successful businesses with wax carved collections. If that is your ambition too then it is 100% achievable for you.
but what is wax carved jewellery?
Good question. Wax carving is an ancient technique where jewellers wax is carved and shaped, a bit like a sculptor works on a block of stone. The wax can be cut, melted, filed and sanded to create a wax model. This is then sent to a caster to cast in the metal of your choice. You could choose to cast in bronze, silver, gold or other metals.
Check out the Rings, Pendants & Charms in Wax: The Build-Up Technique online course from Jewellers Academy. This course is suitable for complete beginners to wax carving as well as those with some experience looking to try a new technique. And with lifetime access there’s no need to worry about forgetting what to do.
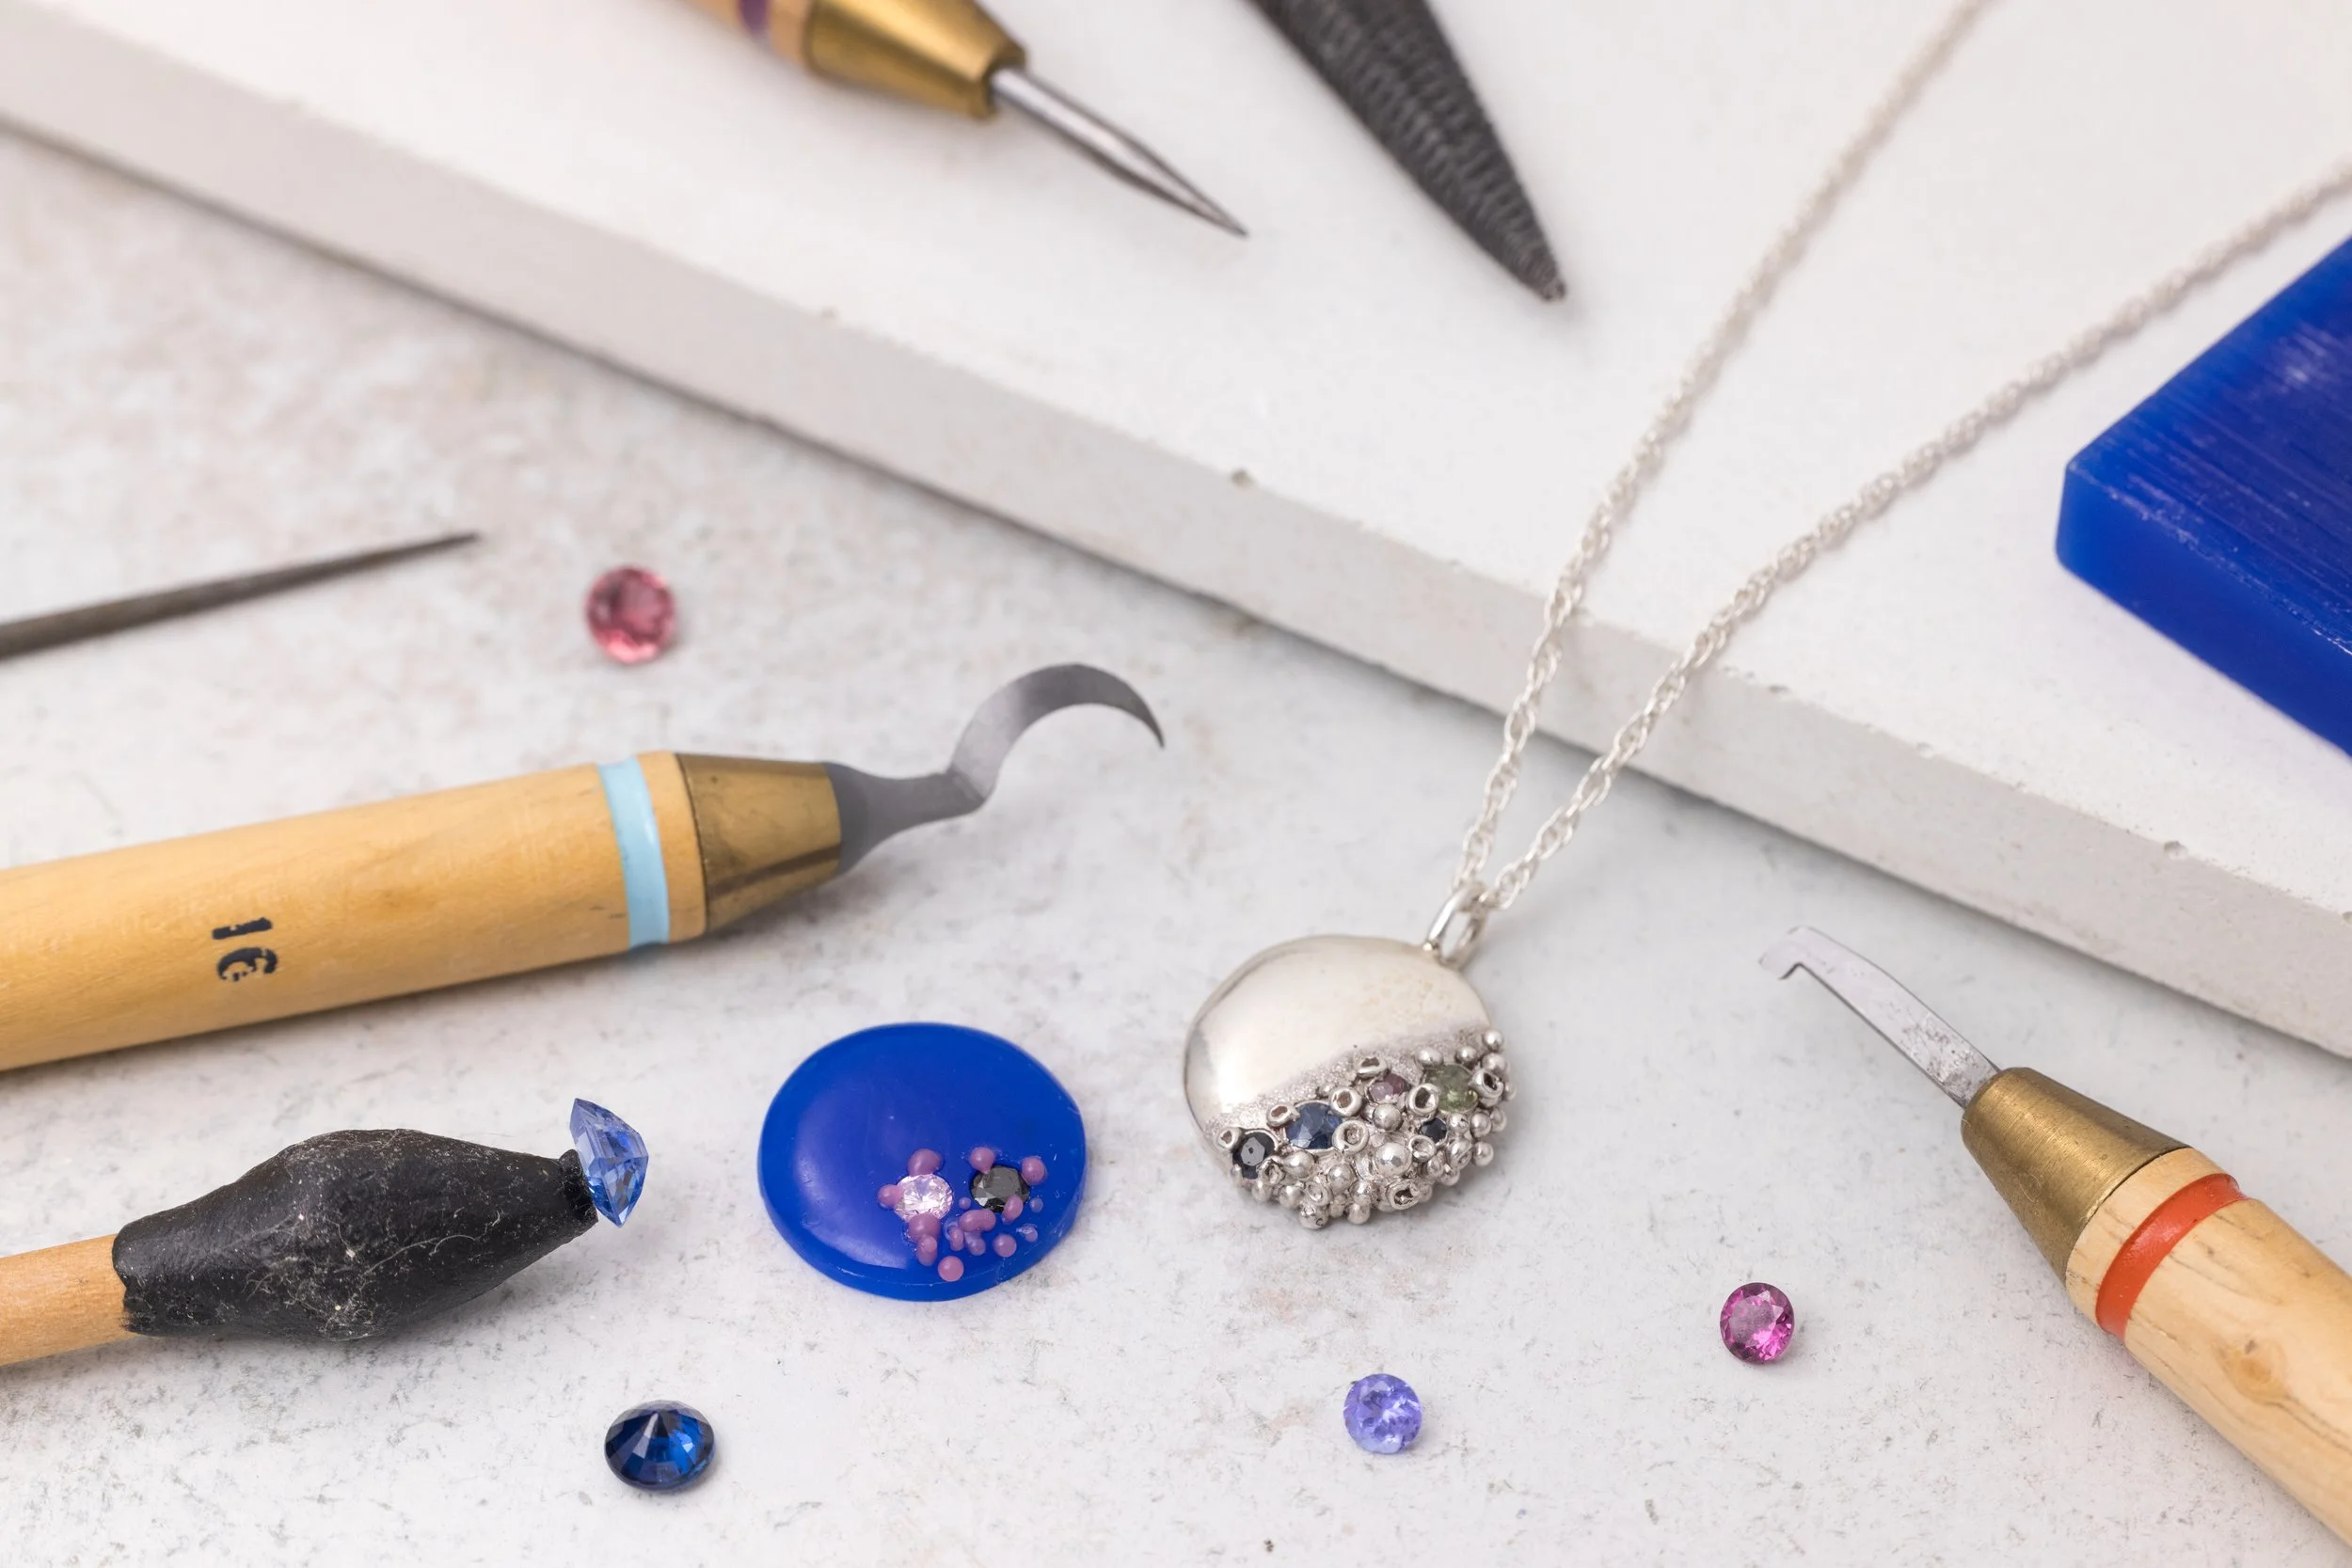
The build-up technique in wax is a super satisfying way of creating unique organic looking jewellery designs. In this course your expert tutor Jo takes you through how to use this method to make a variety of different jewellery designs including:
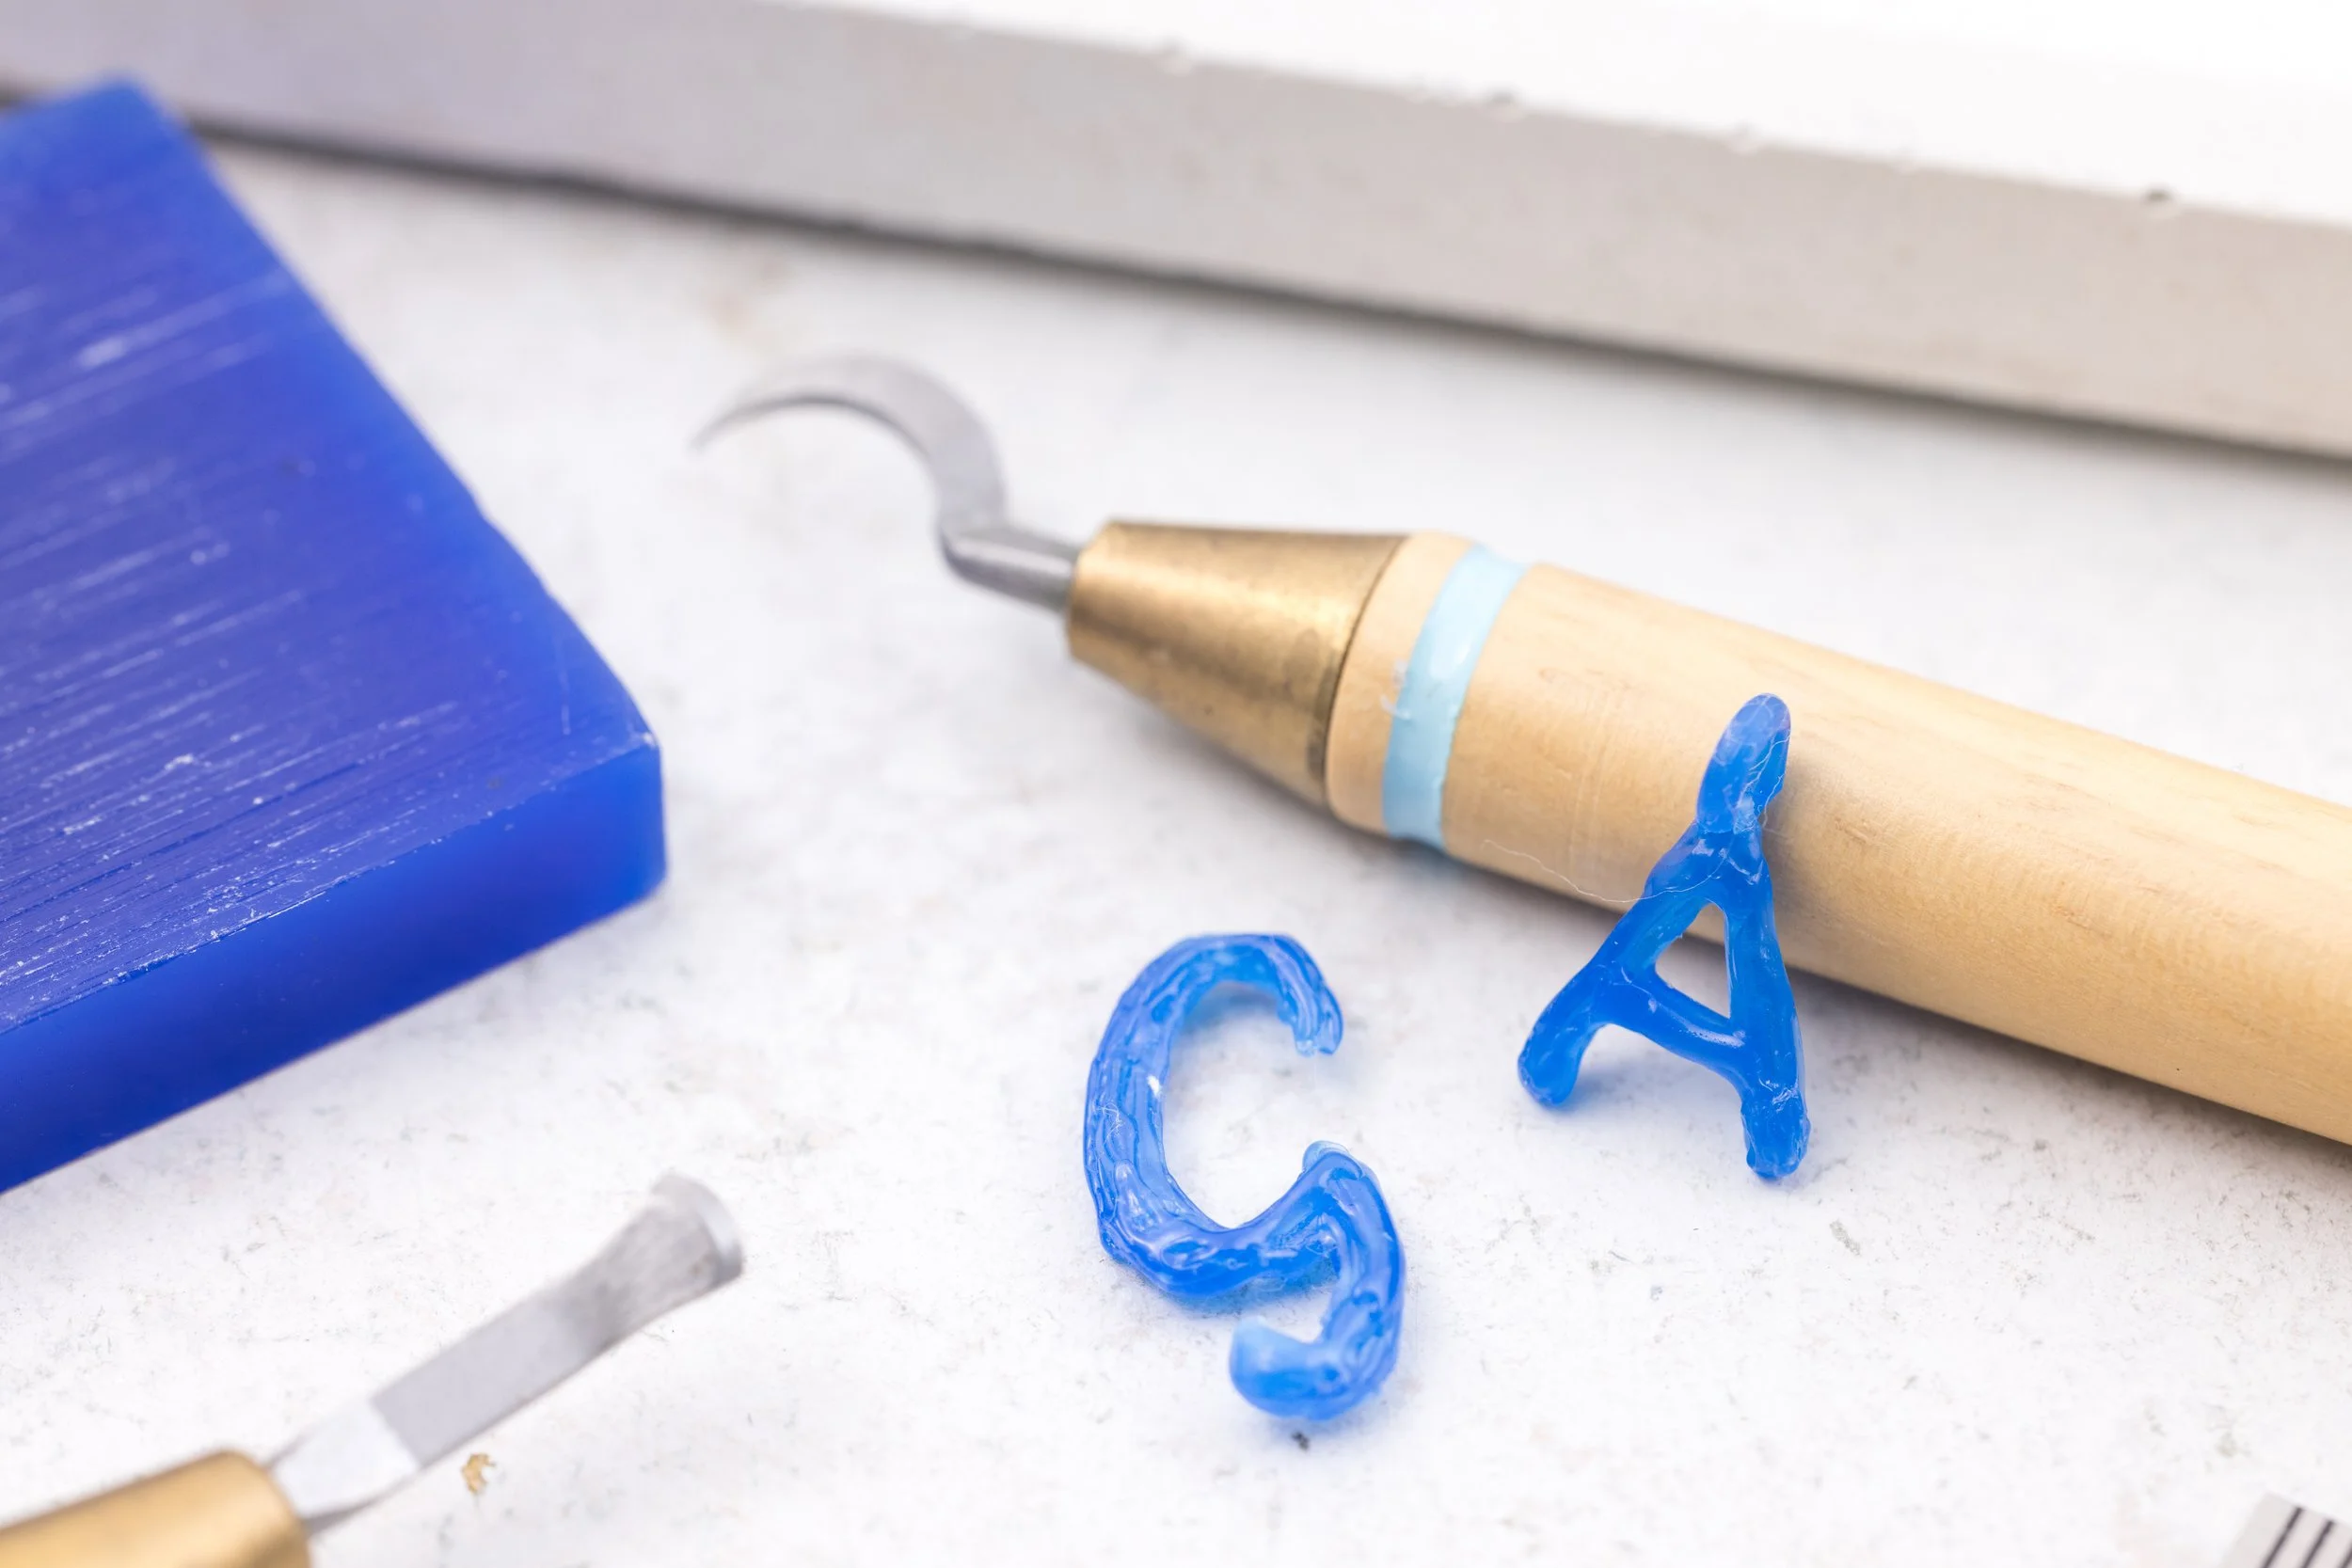
Project 1: Letter pendants/charms formed from melted wax
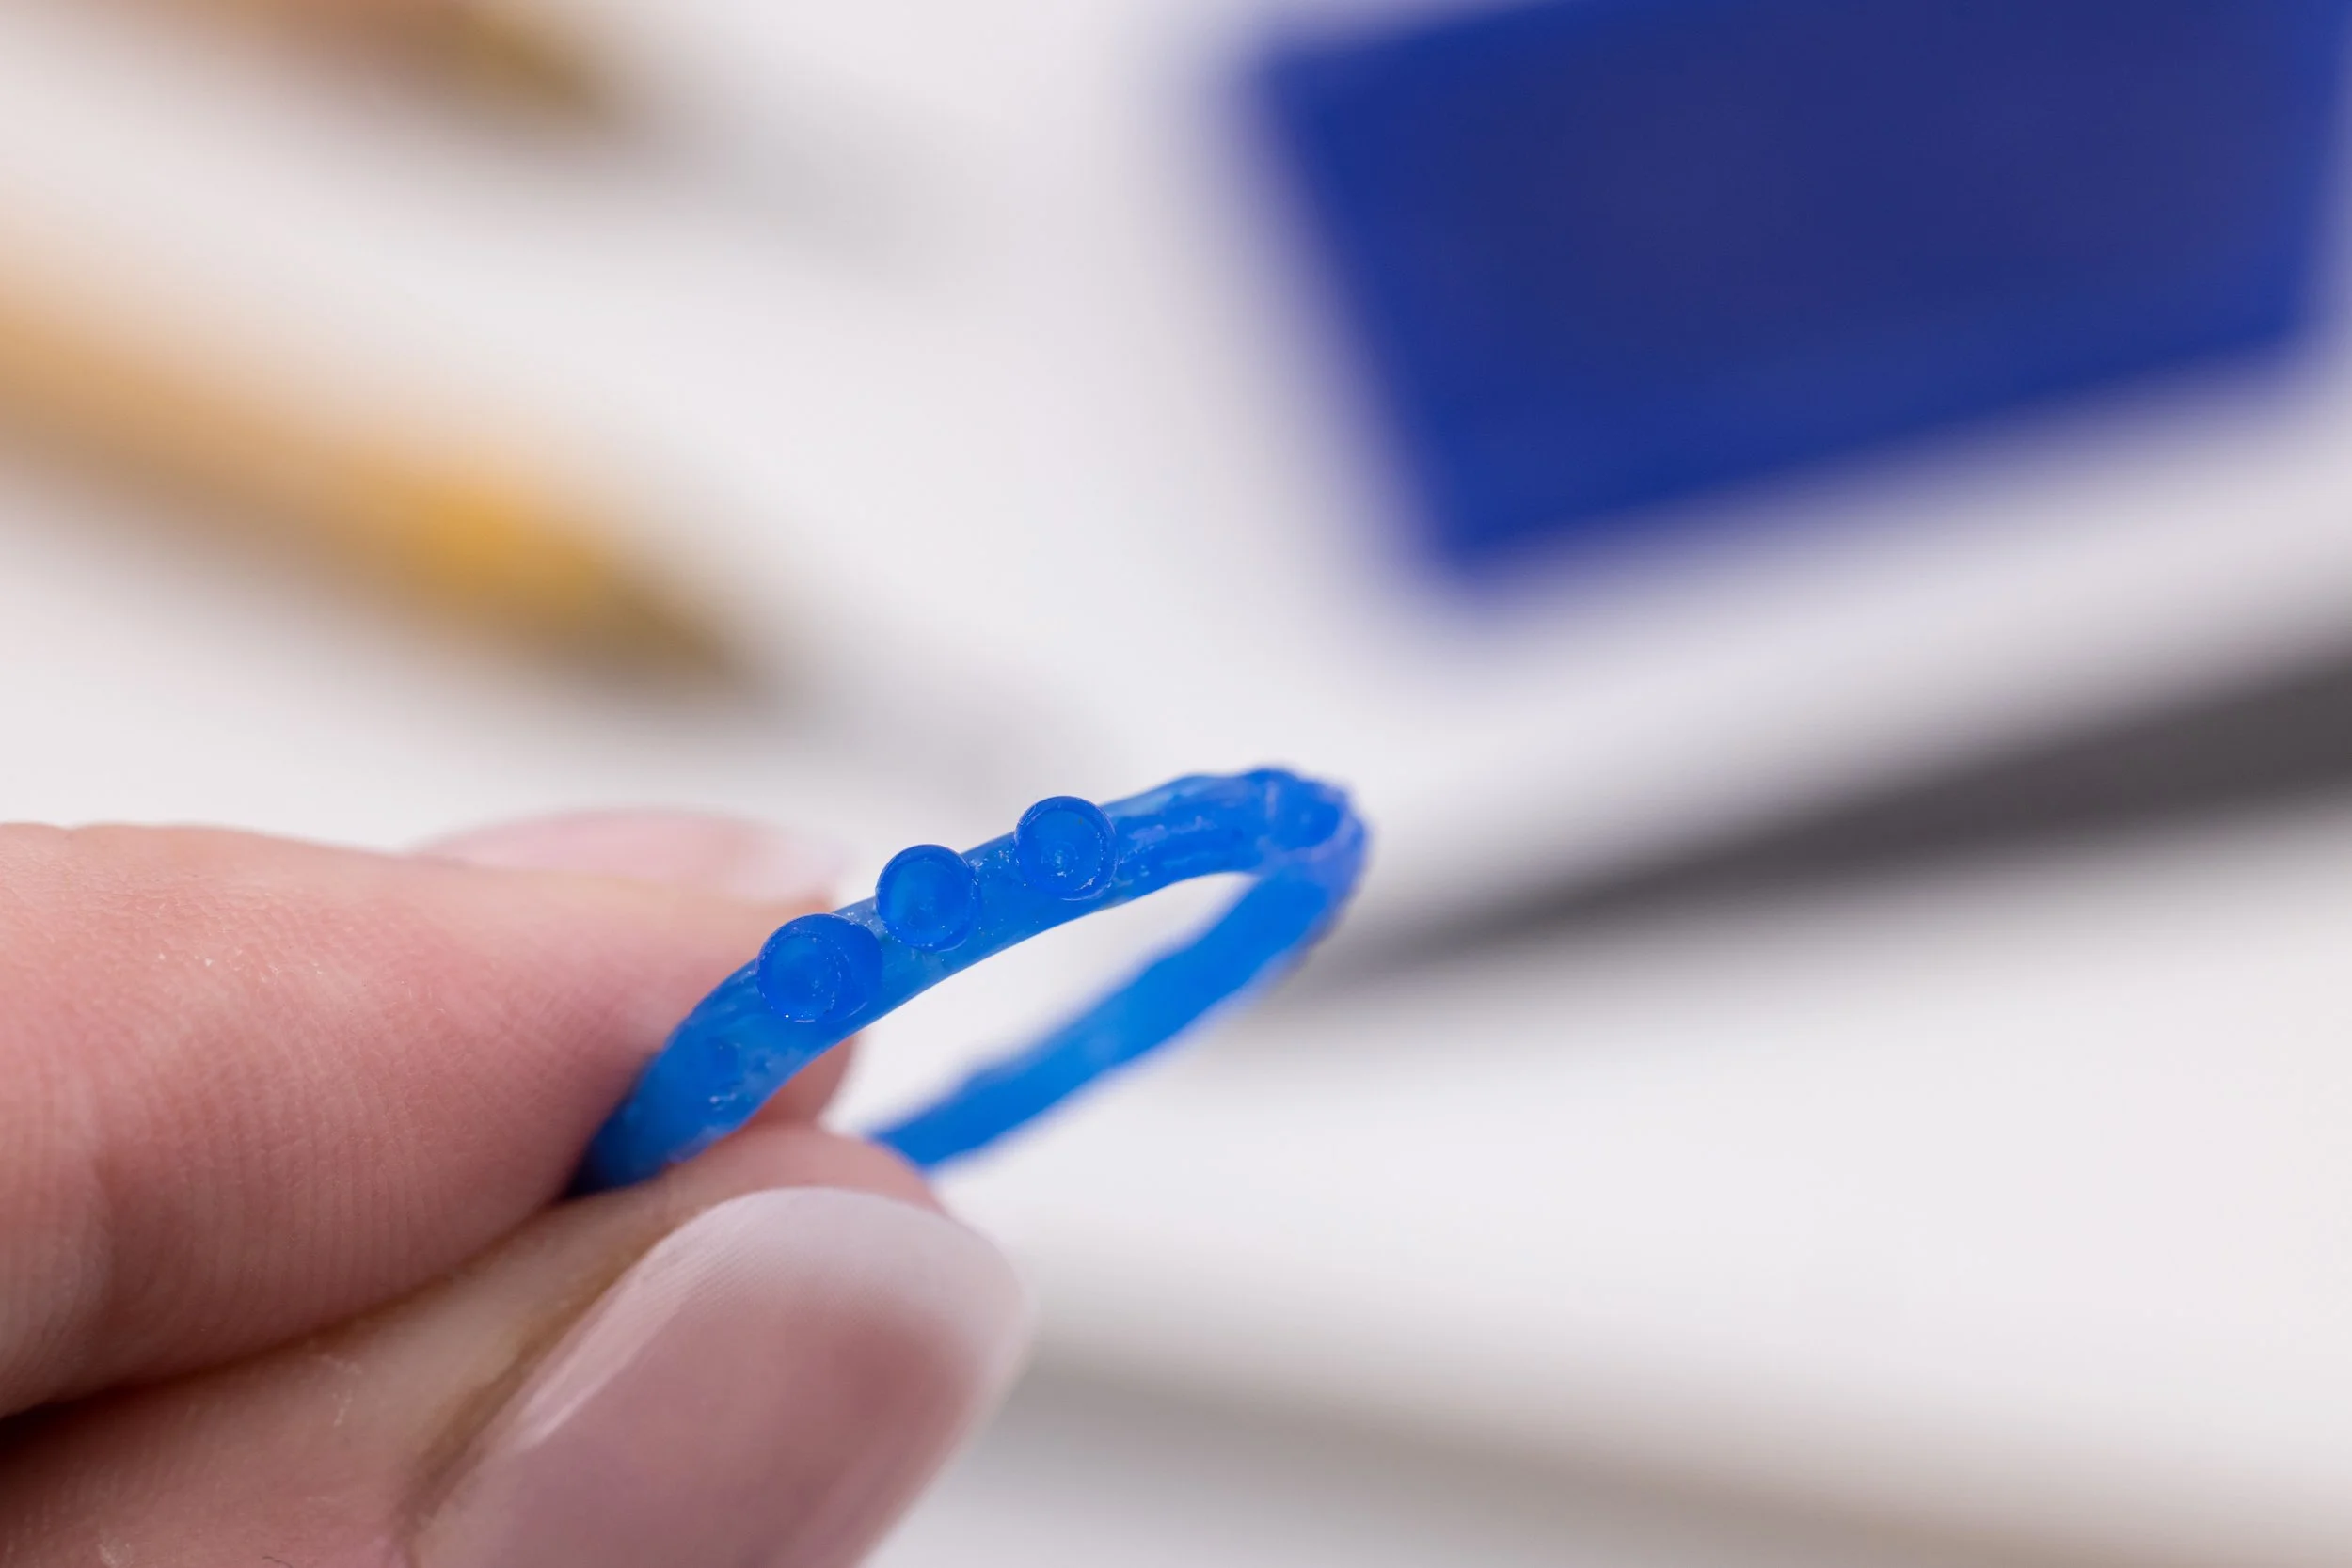
2. Pendants/charms with granulation-style wax texture
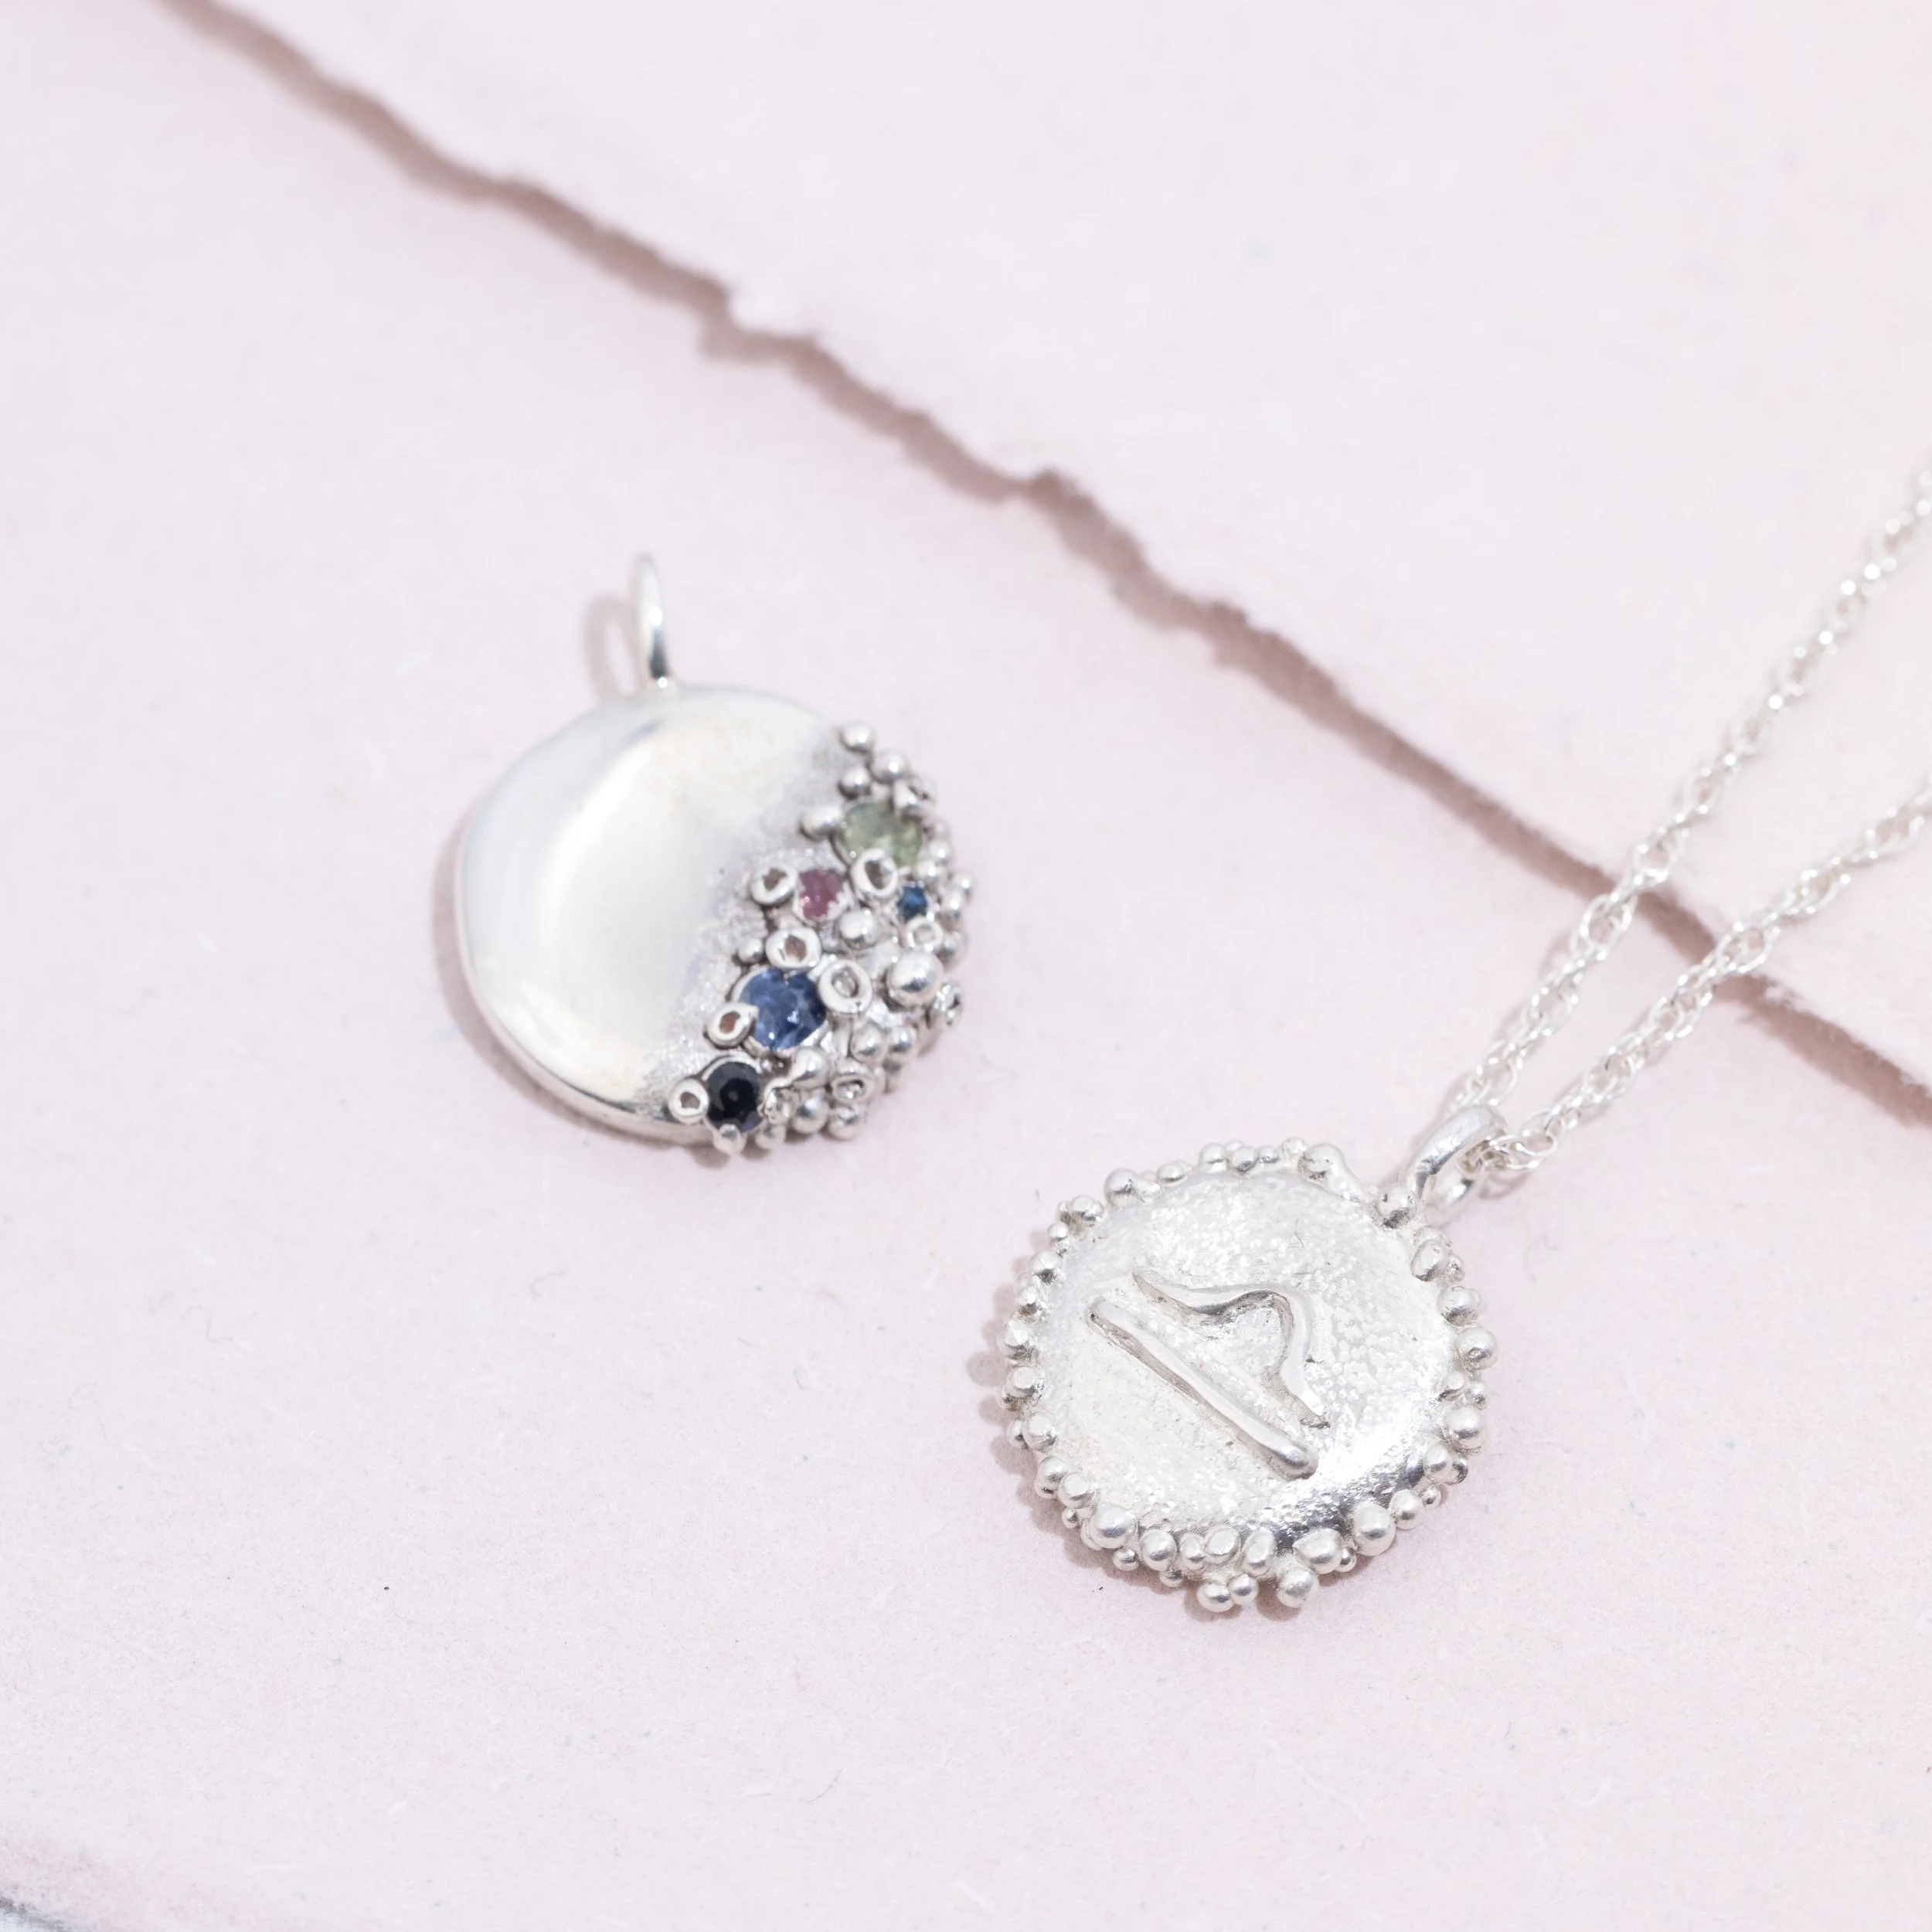
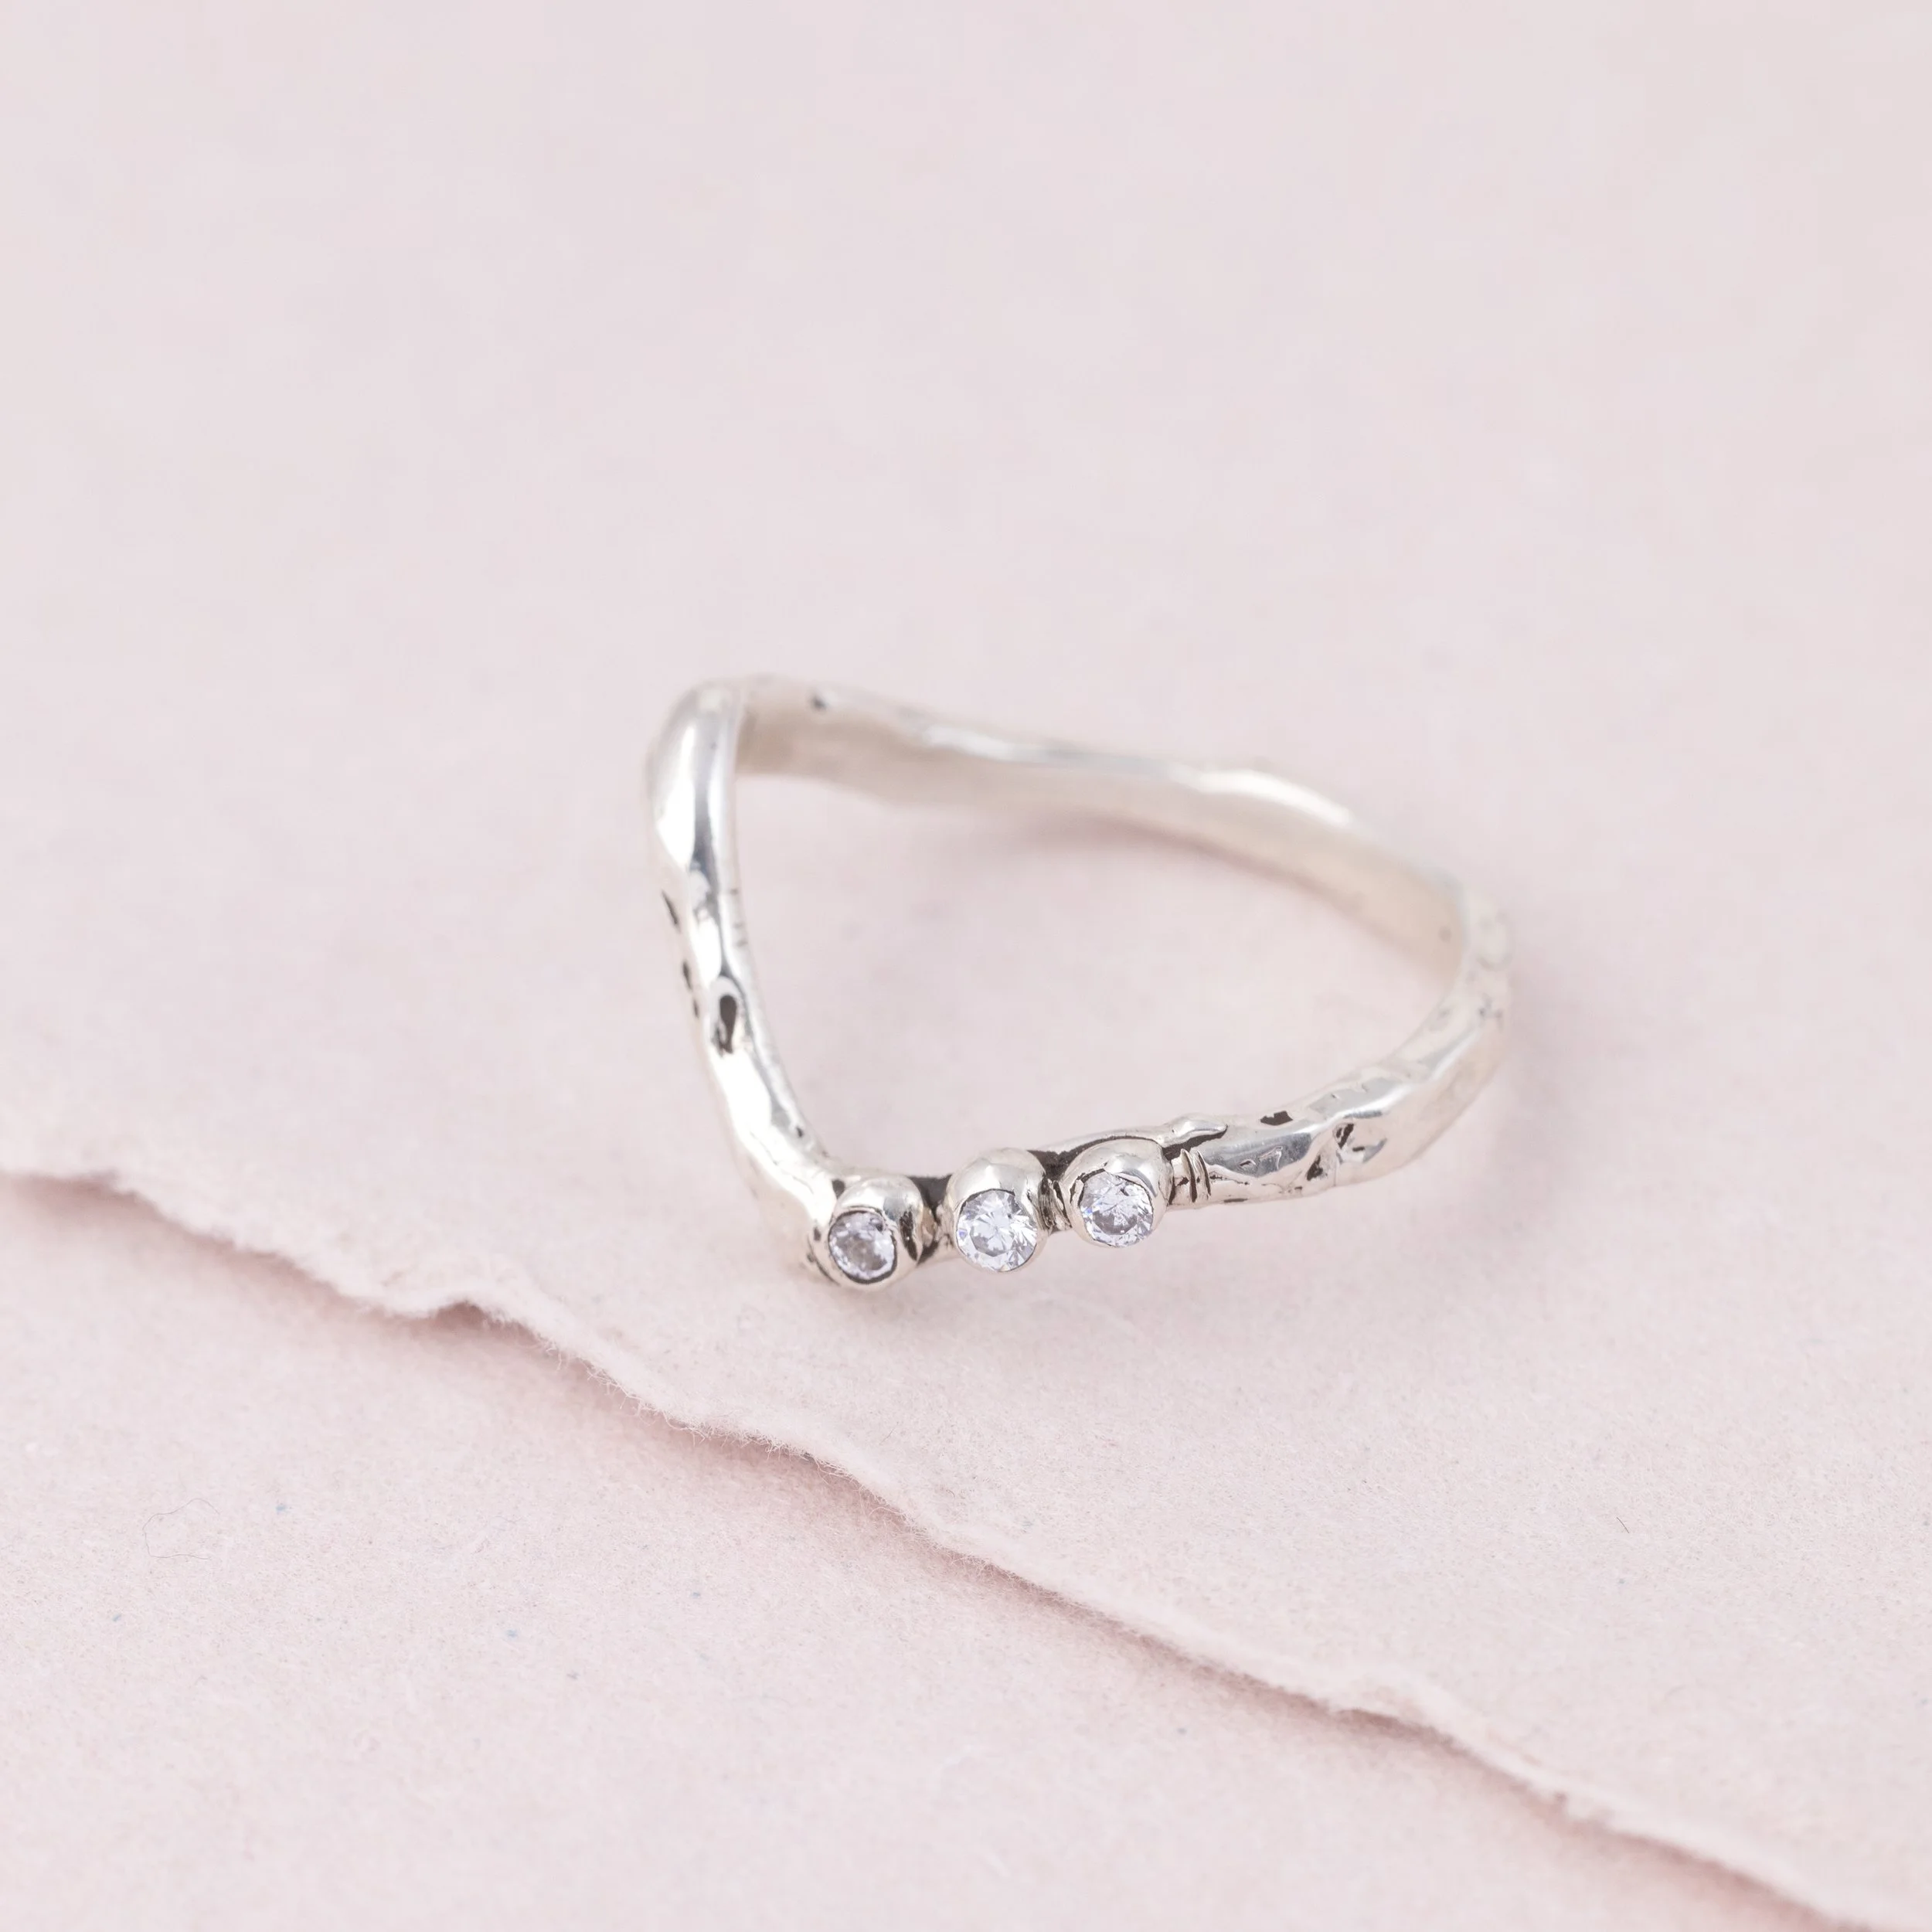
3. Rings with cast in place stones
What you will learn on this course:
Creating your own pendant design with melted wax
How to create texture including granulation-style designs
How to set cast in place stones in wax designs
Making rings
Filing and finishing your wax ready for casting
Tips for reducing the weight of the piece for casting
And more
Who will you learn from?
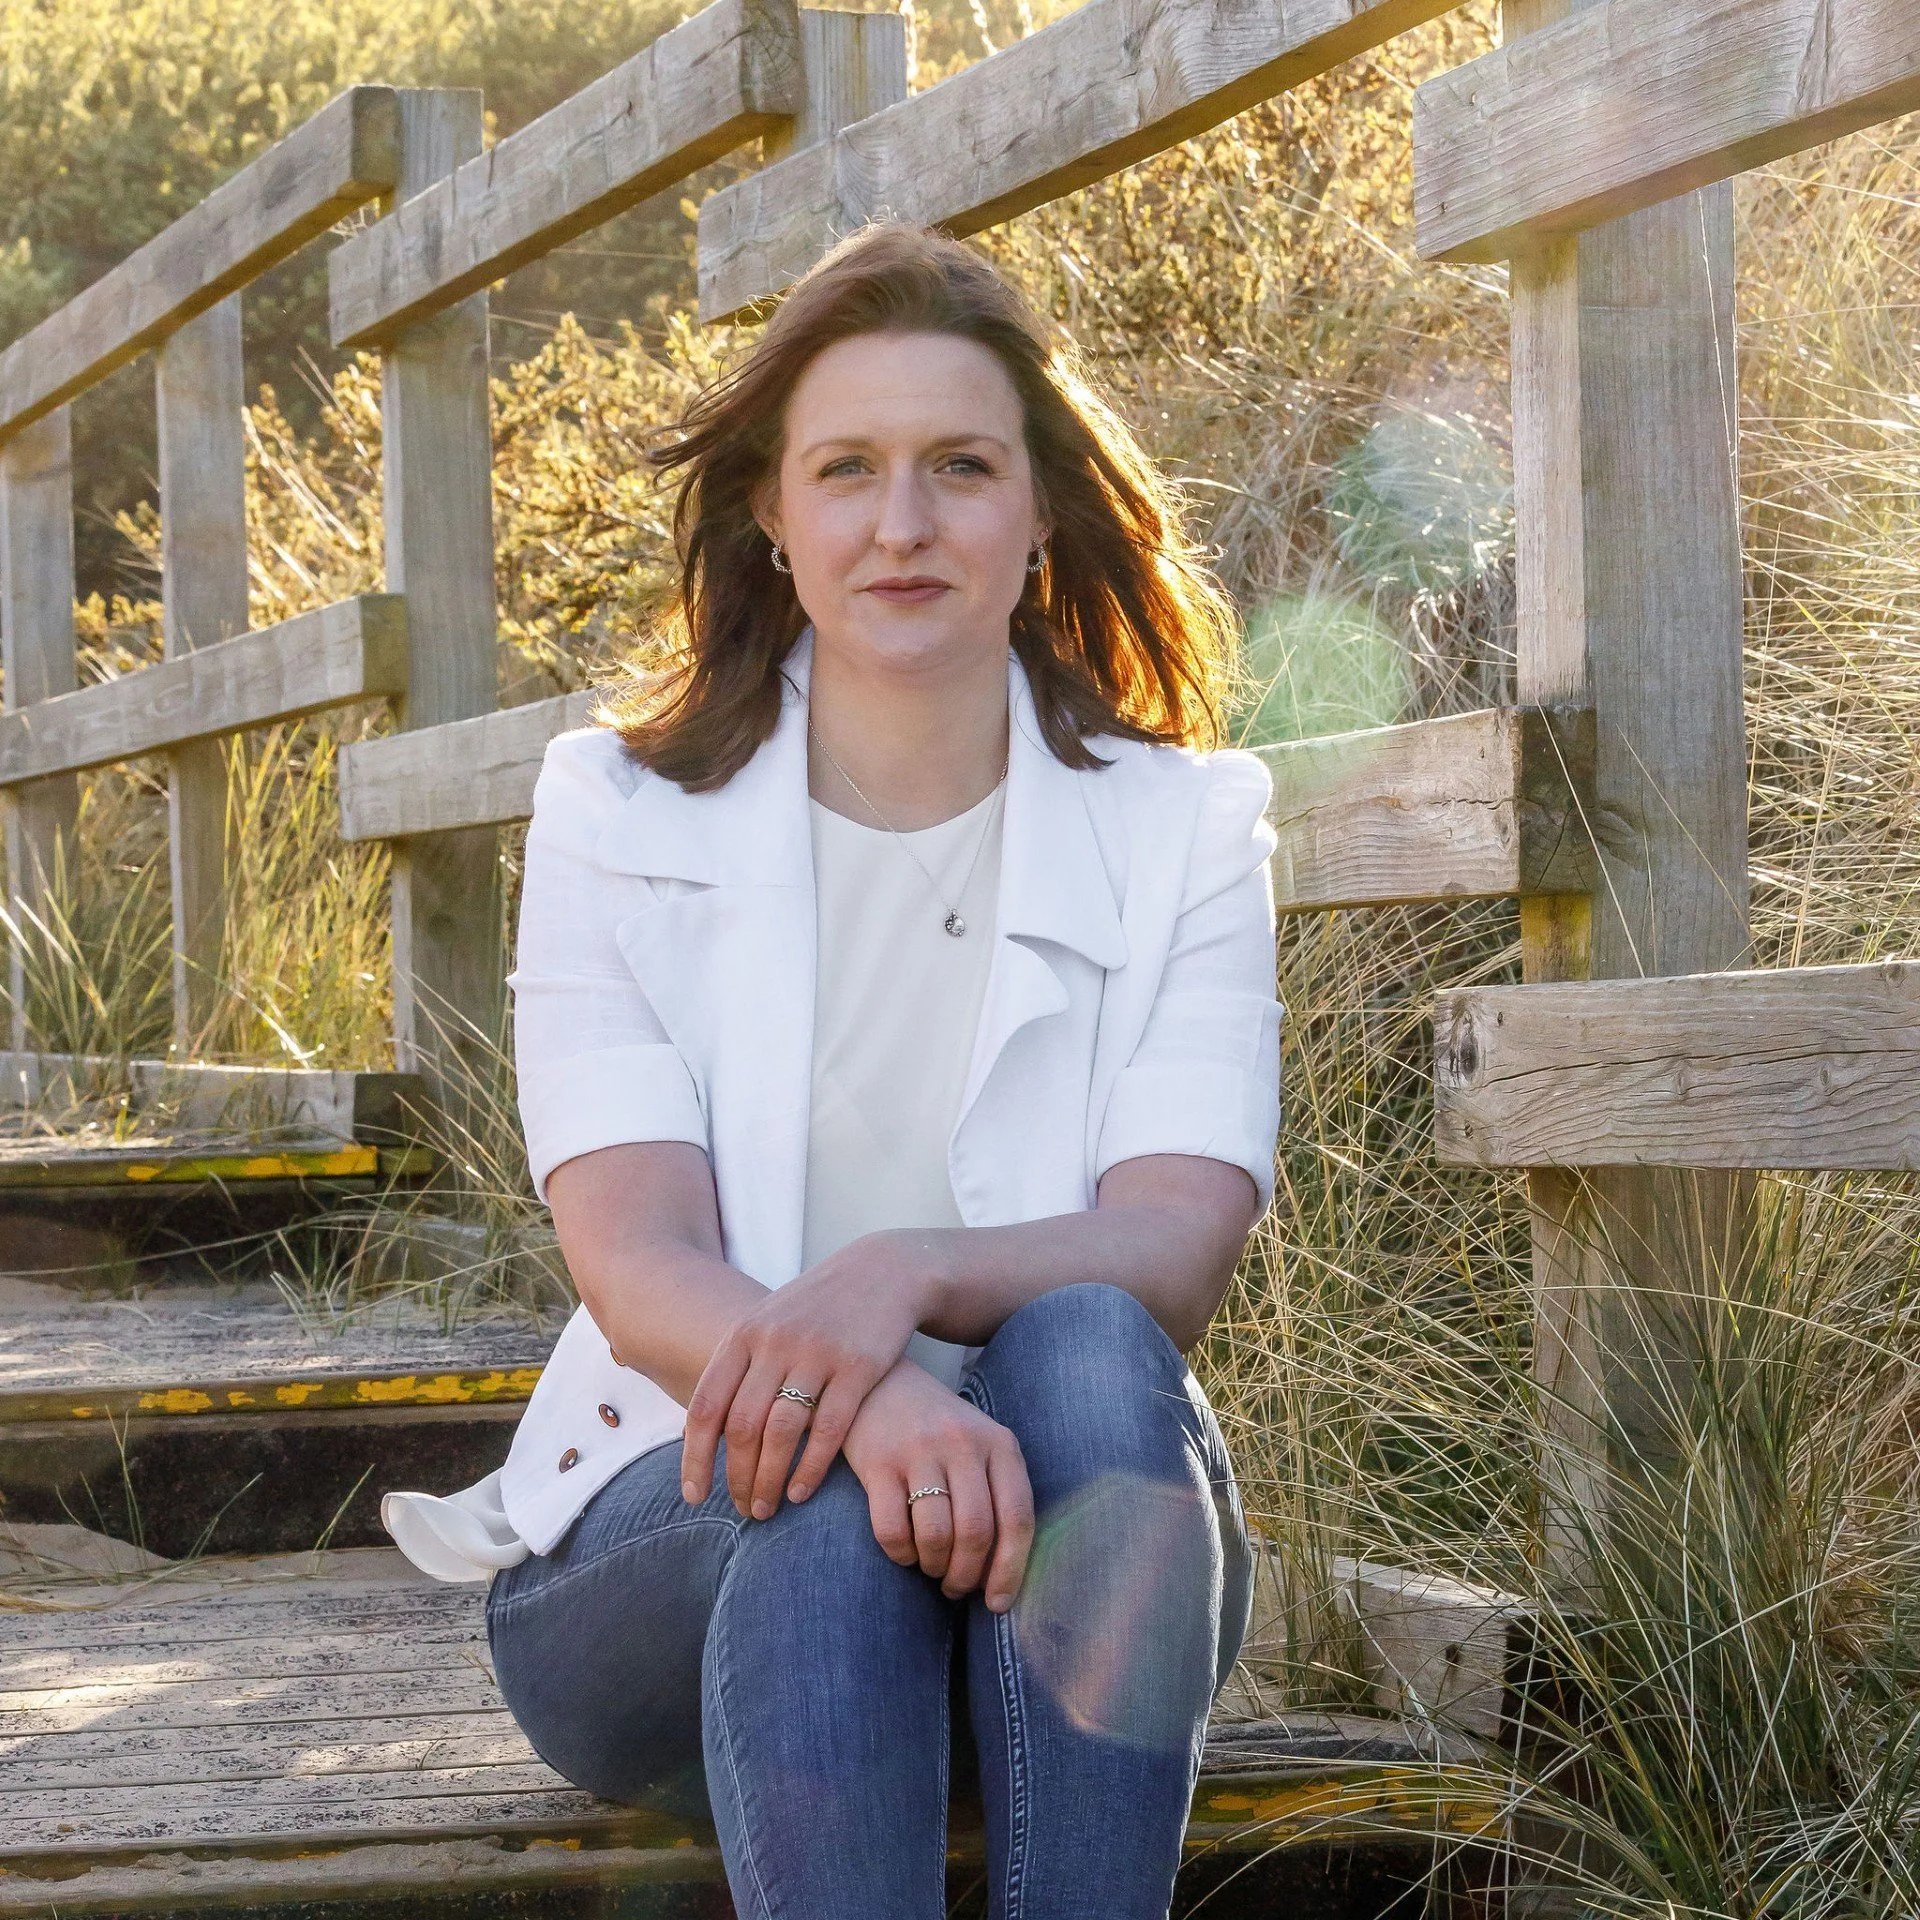
Meet your tutor jo hunt
Jo is the designer and maker behind Rockpool Jewellery, a business based in North East England where she creates both her collections and one-of-a-kind pieces from her home studio. Her work is inspired by the distinctive coastal textures and scenery of the north east coastline. Jo sells her jewellery through her website as well as in local independent shops and galleries. She works primarily with the lost-wax casting technique - most often using the build-up method.
What do I get?
When you enrol on this course you get:
Ongoing access to comprehensive video lessons, guiding you through all the techniques, tips and tricks
Downloadable course notes to work alongside the videos
Full list of kit and materials to learn the techniques (you can find that below if you want to check before you join the course)
Access to our supportive community of jewellers and tutors to help you at every stage of the process
Access to the videos 24/7 - you can stop, pause, rewind and replay as much as you like
Excellent close-up shots to see what is happening in each step so you don't miss a thing
Ready to enrol? This course is just £119 for lifetime access. Click the button below to enrol now and get started straight away!

QUESTIONS?
Is this course suitable for beginners?
This course is suitable for those with no experience of wax carving.
What tools and materials do I need to make this project?
Here are a list of tools and materials used in this project. We always recommend that you watch the course through before deciding what to order as you will have a good idea of the type of jewellery you would like to make.
Tools
Wax melter - wax seal kit with tealight
Max Wax pen
Electric wax pen - adjustable temperature soldering unit style
Wax carving tools - dental tools and scalpel or Wolf carving tools
Design stencils
Plain paper, sellotape and tracing paper
Sharpie
600 grit sandpaper
Drill bit - 1mm
Ball burr - 1.5mm, 2mm
Stone setting burr - 2mm, 3mm (or to match the stone size you are using)
Ring mandrel (or wax ring mandrel)
Needle file
Optional - optivisors
Optional - deburring tool
Stone setting tools for the ring project as this is set after casting - square pusher, curved burnisher
Materials
Blue Ferris wax - sheet. Any thickness will do
Alternatives - Green wax, purple wax
Injection wax (pale purple)
Selection of castable stones (CZs, Sapphires, Diamonds) Jo uses 3mm stones in different colours for the pendant and 2mm for the ring
Wire wax (optional, you could also solder on a jump ring once cast)
Optional - Wolf Relief Wax
where do i find jewellery casters?
If you type ‘jewellery casting’ and your location into Google you will get results for local casting companies. You are also welcome to ask for recommendations in the Jewellers Academy Facebook group.
Can I cast the pieces myself?
You could use these techniques learnt on this course and then use sand casting to cast your own wax jewellery. Check out our Sand Casting for Jewellers course to find out more about how this is done.